You don’t need a large atelier for Japanese Calligraphy. With one square meter of level surface, soft light from a single diagonal direction, and fixed positions for your tools, your strokes settle and your mind follows. This column walks you through a minimalist home studio, wall display design, and the first steps of collecting works by a Japanese artist—a practical pathway to living Japanese culture every day.
Carve Out a Small “Serene Zone”
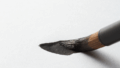
Start with level. Lay down an A3 cutting mat or felt underlay. Limit your light to a single, soft source from above your writing hand; it reduces shadow drift and makes the difference between a hesitant start and a clean finish. Place paper and rinse on your dominant side, with inkstone and paperweights on the other, so your hand travels the shortest path. Even in a small footprint, a confident workflow leads to confident lines.
One Minute of Tool Care
At the end of each session, rinse your brush gently, then shape the tip with a towel and dry tip-up in shade. Store washi flat and away from humidity. Wipe the inkstone or dish with water only to preserve its texture. Keeping cleanup to one minute makes tomorrow’s start easy—and practice sticks.
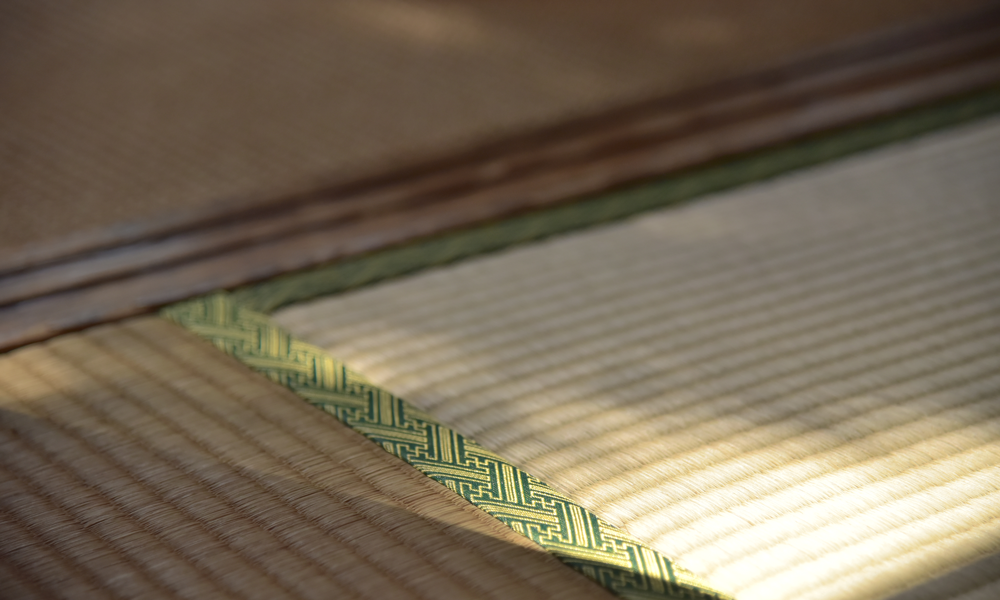
Design the Wall: Light, Height, and Ma
Hang works slightly above eye level to tighten the room’s rhythm. Postcard or shikishi pieces read beautifully as a horizontal triptych; the eye flows naturally and the ink’s gradations compare at a glance. Medium verticals (half-cut) belong in halls or entryways to create a vertical lift. For framing, choose a neutral mat so the white space—the Japanese idea of ma—breathes as the silent protagonist.
Make Progress Visible with One Photo
After practice, take one top-down photo. Use a consistent filename—YYYY-MM-DD_character—and on weekends curate your Best 3. When you review, note three things: the charge at the start, the clarity of the stop, and the proportion of white space. Seeing these over time turns improvement into words and makes next week’s theme easy to set.
Begin Collecting: What to Look For
You can start with one small piece. Judge it on three axes:
- Line information—speed, pressure, and breath within a single stroke.
- White-space design (ma)—is the space placed with intention?
- Material nuance—washi fibers, and the ink’s gradation and dryness.
If a Japanese artist pursues a consistent theme—nature, seasonality—their pieces gain depth when displayed as a series. Try acquiring one small piece per year, and rotate with the seasons; your room’s atmosphere will change.
Gifting Without Missteps
Choose a universal character (和 harmony / 澄 clear / 静 still). Avoid writing the recipient’s name large; keep the signature small. Pick a size that’s easy to swap, and include a brief card—send words and white space together.
Sustainable Choices
Buying calligraphy supports the artisans of washi, brushes, and ink—living Japanese culture in motion. Favor durable framing and avoid excess packaging to reduce impact. Even one new work a year from an emerging Japanese artist helps sustain the next chapter of the craft.
One Week to Get the Space Moving
Day 1 is simply leveling the surface and setting the light. Day 2, complete a 15-minute practice and photograph one small piece. Day 3, pin pieces to the wall and test balance; Day 4, compare neutral mats for framing. Day 5, shortlist three Japanese artists whose themes speak to you; Day 6, narrow works 3 → 1 by line, ma, and material. Day 7, install the display. From a 1 m² studio, you’ll feel the cultural loop—write / display / collect—begin to turn.
deepens your connection to Japanese tradition.
Explore and purchase hand-selected Japanese calligraphy artworks:
https://calligraphyartwork.stores.jp/

コメント