A direct, practical guide to reach your first finished piece fast. This article targets readers in the English-speaking world who value quality tools and meaningful art investments. Core search intents: Japanese Calligraphy / Japanese culture / Japanese artist.
Why start (three simple reasons)
- Sharper focus: Brush and breath create a mindful ritual, even in short sessions.
- Better spaces: A single character on your wall adds calm and clarity.
- Cultural participation: Your practice supports artisans of paper, ink, and brushes in living Japanese culture, and encourages the next Japanese artist.
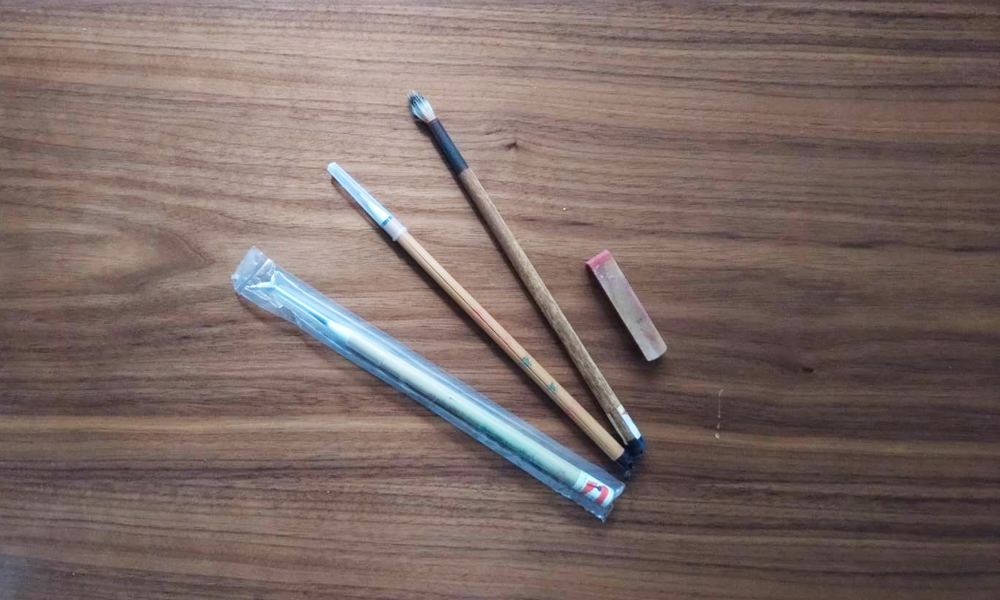
Essential starter kit (just what you need)
- Medium brush (balanced and easy to control)
- Bottled ink (use stick ink later; start with consistency)
- Small inkstone or ceramic dish
- Practice paper (about 30 sheets)
- Mat + paperweights (reduce bleed and slippage)
Tip: Keep the desk level and light from one diagonal direction above your hand. Secure sleeves; clean hands.
Setup (3 minutes)
- Place paper with fibers running vertically; fix with paperweights.
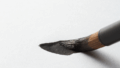
- Load the brush with a rice-grain or two of ink; form a sharp tip.
- Sit forward; anchor your elbows on the desk; float the wrist.
The 15-minute daily routine (sustainable and effective)
- 1 minute: breathing
Inhale 4 counts → exhale 6 counts × 3. Release shoulders and jaw. - 4 minutes: basic strokes
3 verticals, 3 horizontals, 2 dots, 2 hooks, 2 sweeps. Slow, even speed. - 5 minutes: one “永 (Ei)”
Pause to charge the tip, move, then stop to seal the energy. No redo. - 5 minutes: one character practice
Choose 山 (mountain) / 川 (river) / 心 (heart). Write 3 times max. Keep one best.
Quick fixes for common issues
- Shaky lines: Face the paper squarely, anchor elbows, keep speed steady.
- Bleed: Too much ink. Lightly wipe the tip; test a different paper.
- Weak lines: Add a micro-pause at start; clear stop at finish.
- Messy layout: Begin with a smaller character centered and generous margins.
One-week plan (fastest improvement)
- Day 1–2: Basics + “永” + “山”
- Day 3–4: Basics + “永” + “心”
- Day 5–6: Basics + “永” + “道”
- Day 7: Pick one of the three; make 3 clean sheets; archive the single best.
Next week, move to seasonal words like 風 (wind) / 澄 (clear) / 和 (harmony).
Display & collect — turn practice into spatial value
- Display: Arrange postcard-size works in a horizontal trio slightly above eye level.
- Collect: When evaluating a Japanese artist’s work, look for
- Line information (speed, pressure, breath in a single stroke)
- White-space design (meaningful “ma,” or interval)
- Material nuance (fiber of washi, gradations of ink)
Collect by series for depth and coherence.
Desk-side checklist (print and keep)
- □ Five tools ready (brush / ink / stone / mat & weights)
- □ paper
- □ Level desk / one-direction soft light
- □ 15-minute flow (breath → basics → “永” → one character)
- □ Save one “best” daily; frame one piece at month-end
deepens your connection to Japanese tradition.
Explore and purchase hand-selected Japanese calligraphy artworks:
https://calligraphyartwork.stores.jp/

コメント